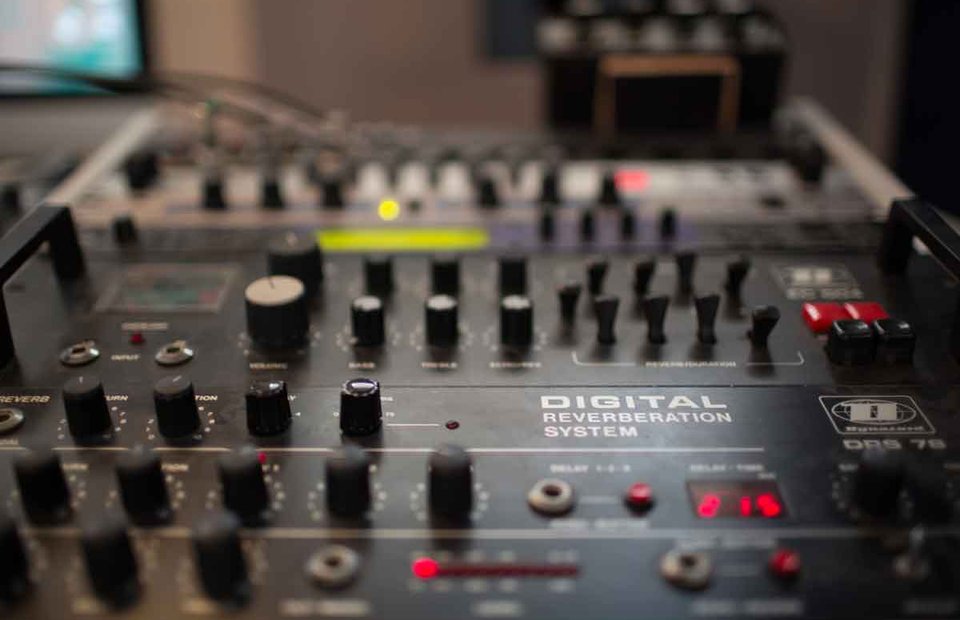
The most common approach to use reverb in a mix would be to create an auxiliary track with a reverb insert that is set to 100% wet. By creating an aux send on individual tracks in your session you will be able to send varying amounts of signal from each individual track to the reverb. It's very easy to create a overall cohesiveness to your mix if all tracks share the same reverb, even if it's a very small amount.
There are two major benefits to this approach as opposed to the use of reverbs on single tracks. First of all, a reverb on an auxiliary track allows you to have more control over the wet/dry balance. Secondly, you save on memory and CPU usage by assigning different sources to the same reverb as opposed to each track running its own dedicated plug-in.
Expanding on this technique by using multiple aux buses and different lengths of reverbs makes it very easy to pull a source closer or push it further to the background in the mix. Reverbs tend to take up a lot of space in a mix so sending a lot of signal from different tracks to multiple reverbs is a quick recipe for a muddy and indistinct mix. Most of the time you want to make sure you don’t actually hear them clearly, but notice they’re offering a subtle amount of support once you mute them. Just like you would approach setting the cut-off of your reverb EQ, a common technique is to push the level until you start to hearing the reverb clearly and dial it back a bit. Always try to adjust your reverbs in context as you won't know the actual impact of the reverb until you hear it in the full context of the mix.
Long Reverbs
The effect a specific reverb has on us goes back centuries. Historians found that churches dating back as far as the Byzantine era weren't just about the architecture, but in a large part designed to yield specific acoustic properties. Some ancient churches in Greece already had big jugs of water filled with a specific amount to sip specific frequencies out of the air (Helmholtz resonator). Even diffusion was already consciously implemented as many churches had specifically designed striations to break up the sound waves. In some cases even flutter echoes were introduced, something the people in the ancient world referred to as "the flapping of angel wings". They were actively trying to tune the space and the character of the reverb.
If you ever visited a church you'll be familiar with the sheer silence that is demanded by a large reverberant space as it will place a microscope on every sound that occurs in the room. In large reverberant spaces people have a natural tendency to make as little noise as possible as every sound is amplified and sustained throughout the room. In short, a louder and longer reverb takes up a lot of space and demands more attention. Therefore choosing a specific size and reverb time will quickly dictate a specific atmosphere in your tracks and mixes.
If you're using a very long reverb on a busy arrangement, its very easy to end up with a big wash of sound. Because of this, the length of the reverb you should use for your track is by a large amount dictated by the song and arrangement. Long reverb times and larger spaces generally work a bit better for tracks that are a bit more sparse, e.g simple instrumentation, few elements and lower BPMs. The more space there is in an arrangement, the more you can fill it with reverb. If a track gets more instrumentation over time it's not uncommon to dial back the amount of reverb with automation in order to create space for more instruments.
Some great examples of long natural reverbs:
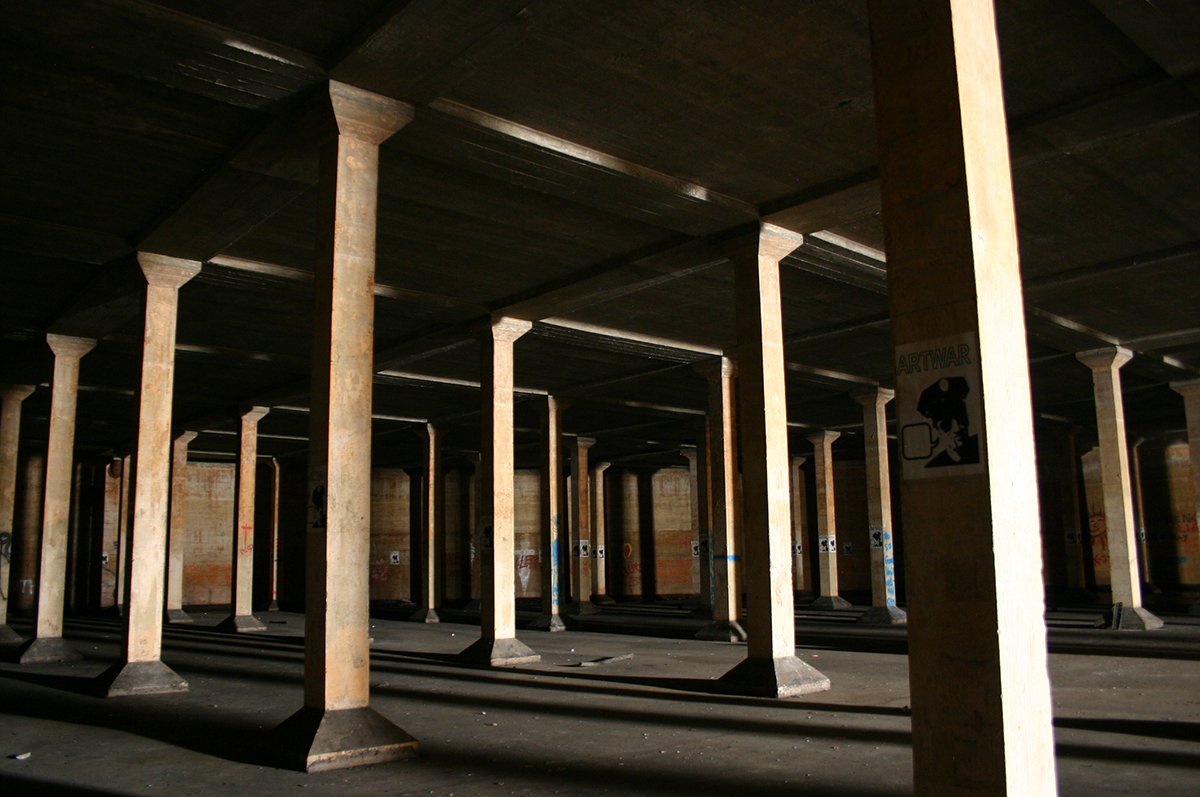
Stuart Dempster - Underground Overlays From The Cistern Chapel. Recorded in the Dan Harpole Cistern at Fort Worden State Park, a 30 meter diameter by 4 meter high drained water reservoir with an unbelievable 45 second natural reverb. This example is a good illustration of how much attention each note dictates. Play just one note, and you'll have to listen to it for the next 45 seconds.
Cowboy Junkies - Trinity Sessions (1988). Recorded inside Toronto's Church of the Holy Trinity, with the band circled around a single microphone. An excellent example of a great sounding church with a medium long reverb time. Since it was recorded with one microphone, the wet/dry balance and volume was adjusted by simply placing an instrument closer, or further away from the microphone.
Short Reverbs
For busier tracks with more instrumentation and faster BPMs, short reverb times will usually work better as you're more likely to find a dedicated place for it in your mix. Probably one of the most common sources to use short reverbs for is percussion instruments, specifically drums. Rooms, chambers and studio emulations with decay rates shorter than one second are very commonly used to enhance the energy of an instrument. Some engineers, whether willing or unwillingly, have built a career from being able to capture the sound of a room to great detail.
Concepts of depth
When we’re using a reverb to create a sense of depth in a mix we basically try to mimic the effect of all sounds being played in the same room. Our ears use some clever markers to determine what kind of room the sound is being played in. Understanding these characteristics will help you to build more realistic reverbs and make it easier to achieve a sense of depth in your mix.
Volume and Air Absorption
Air works much like an absorber: the longer a sound has to travel the more high frequencies will be attenuated/absorbed by the air. Thus, this is a marker for our ear in how far a sound appears to be. Using a 6dB/oct low-pass filter in the higher portion of the spectrum works great in combination with volume to make something appear further away without even using reverb. If you add a little reverb to this you’ll be able to create a great sense of depth and dimension. Using an additional pre/post EQ can be a very powerful tool when you want to have a reverb 'fit the mix' exactly how you want it. You’ll find that if you find the right place and volume for it, you won’t actually need a lot of reverb to create a great sense of depth.
The softer a sound is in terms of volume, the further it will appear to us and vice versa. Using a volume fader alone can have a huge impact on how far a sound appears to be.
Stereo Information
The further away from the sound source, the less stereo information you get. If you want something to appear further away, lower the amount of stereo information. Creating long lush reverbs in full stereo on too many instruments is likely a recipe for a lot of clutter.
More often than not, you'll send a signal of an instrument to a reverb via an auxiliary send. On most DAWs there will be a pan pot on this send. While it might sound great in solo when you pan it to the opposite side your dry signal is originating from, in a full mix this will clutter your mix very quickly. Avid's Pro Tools designers knew this and for good reason included a dedicated button for this on their auxiliary send called FMP, short for follow-main-pan.
Alternative methods and approaches
Gated Reverbs, a groundbreaking happy accident
Every decade has its defining sound, and the sound of the '80s was probably shaped by the technological advances that took place at that time. Synthesizers, drum computers and gated reverbs defined this era. The gated reverb made it possible to build larger than life sounds as the sustain of a very long big sounding reverb could be abruptly triggered and automatically shut off. Funnily enough, it turned out that the gated reverb was actually stumbled upon by accident by Peter Gabriel and Phil Collins while working on Gabriel's third album in 1979.
The studio they were working in just took in a new recording console in the form of the SSL 4000, which is one of the first consoles to employ a gate and compressor on individual channels. The talkback on this particular console had a dedicated compressor and gate on it as well. The compressor was included on the talkback channel to make sure it would pick up someone talking in the back of the control room, the gate to shut off the talkback below a certain threshold. By accident the talkback was still on while Collins played his drums and he heard the room mics through his monitor, heavily compressed and automatically shutting off by the gate. Although all tools were already in place to make this happen prior to 1979, legend goes that this trick was never conceptualized before this happy accident occured. A gated reverb is great if you want an instant '80s sound on your drum tracks. If you use moderate gate settings and don't let the gate fully close it can work great as a tool to time the amount of space the reverb occupies in your mix.
Reverb versus delay
Reverb is most likely the first tool engineers reach for to create space. However, in some cases it's actually better to use other ways to create a sense of depth. Since a reverb has a tendency to take up a lot of space you can sometimes achieve the same effect with a delay. Let’s say you’re working on a vocal track where you had a reverb in mind with a long and lush decay. Of course, you can achieve this effect by using a long reverb time combined with a fair amount of pre-delay. If it is a fairly busy track, chances are that most of the actual reverb will be masked by other sounds in the mix and it will most likely just clutter up your mix. However, in this case, a ping-pong delay with a decent amount of feedback might do the job equally well and gives the illusion of a big space while taking up less space in your mix with the additional benefit of saving some memory and CPU usage. The trick is to make the delay not sound like a delay, but instead try to create the sense sound is coming back to you in a natural space. Synchronizing the delay to your song makes it easier to mask the fact that it's a delay.
Looking for a great, versatile reverb plug-in? Try FabFilter Pro-R!

